Note
This guide applies to Steeltoe v3. This component has been removed from v4.
Implementing Circuit Breakers
This tutorial takes you through setting up a .NET Core application that implements a circuit breaker pattern.
Note
For more detailed examples, please refer to the FortuneTeller (Circuit Breaker) project in the Steeltoe Samples Repository.
Start a instance of the Hystrix dashboard
(Depending on your hosting platform this is done in several ways.)
- There are a few images available on Docker Hub that provide basic Hystrix Dashboard functionality. The following image is provided by the Steeltoe team for testing and development:
docker run --rm -ti -p 7979:7979 --name steeltoe-hystrix steeltoeoss/hystrix-dashboard
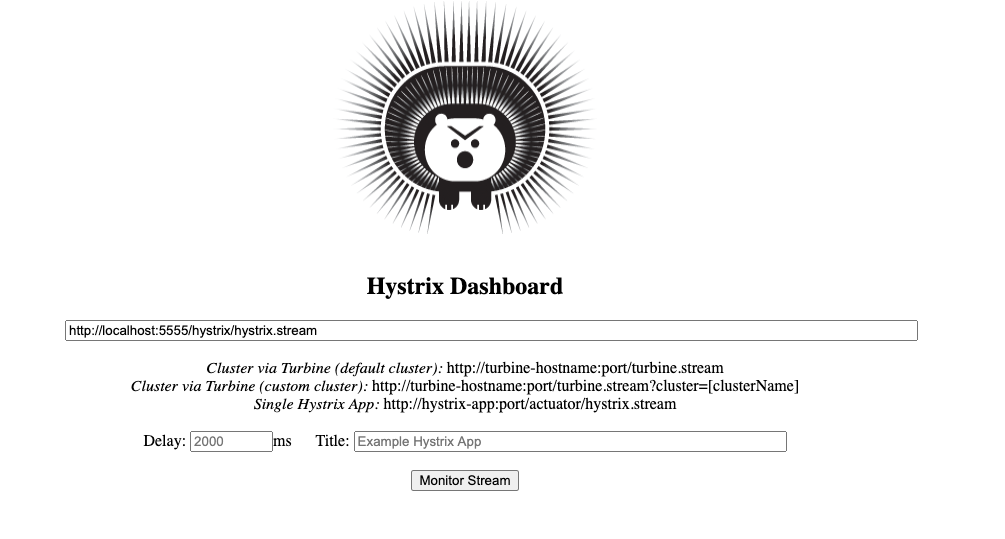
Once this image is up and running, you should be able to browse to your local dashboard and provide the address of the Hystrix stream(s) you wish to monitor.
NOTE: This image may be running on a separate network than your application. Remember to provide a stream address that is accessible from within the Docker network as the application will be running on your host. This may require using the external IP address of your workstation or the name of the machine instead of 127.0.0.1 or localhost.
Alternatively, to run a Hystrix Dashboard with Java on your local workstation
- Install Java 8 JDK.
- Install Maven 3.x.
- Clone the Spring Cloud Samples Hystrix dashboard:
cd https://github.com/spring-cloud-samples/hystrix-dashboard - Change to the hystrix dashboard directory:
cd hystix-dashboard - Start the server
mvn spring-boot:run - Open a browser window and connect to the dashboard: http://localhost:7979/hystrix
Create a .NET Core WebAPI that implements circuit breaker pattern
Create a new ASP.NET Core WebAPI app with the Steeltoe Initializr
Name the project "CircuitBreakerExample"
Add the "Netflix Hystrix Circuit Breaker" dependency
Click Generate Project to download a zip containing the new project
Extract the zipped project and open in your IDE of choice
Add the following to appsettings.json
{
  "Spring": {
    "Application": {
      "Name": "mycircuitbreaker"
    }
  },
  "Hystrix": {
    "command": {
      "MyCircuitBreaker": {
        "threadPoolKeyOverride": "MyCircuitBreakerTPool"
      }
    }
  }
}
Open up the
.csprojfile that was generated for you and replace the package reference:<PackageReference Include="Steeltoe.CircuitBreaker.Hystrix.MetricsStreamCore" Version="$(SteeltoeVersion)" />with
<PackageReference Include="Steeltoe.CircuitBreaker.Hystrix.MetricsEventsCore" Version="$(SteeltoeVersion)" />Replace default "GET" controller method in WeatherForcastController.cs (Controllers folder) with the below:
[HttpGet]
public async Task<ActionResult<string>> GetAsync()
{
    HelloHystrixCommand cb = new HelloHystrixCommand("ThisIsMyBreaker");
    cb.IsFallbackUserDefined = true;
    return await cb.ExecuteAsync();
}
Run the application
dotnet run <PATH_TO>\CircuitBreakerExample.csproj
Navigate to the endpoint http://localhost:5000/WeatherForecast
- Navigate to the dashboard at http://localhost:7979/hystrix and enter the application stream url in the stream url text box (ex. http://localhost:5000/hystrix/hystrix.stream)

NOTE: The stream url
http://localhost:5000/hystrix/hystrix.streamwill only work if the Hystrix dashboard is running on your local host. You will have to use a different URL, one that is accessible from Docker if you are running the dashboard using Docker.
- Refresh the application in your browser a few times and go back to the dashboard to see it logging live activity.
